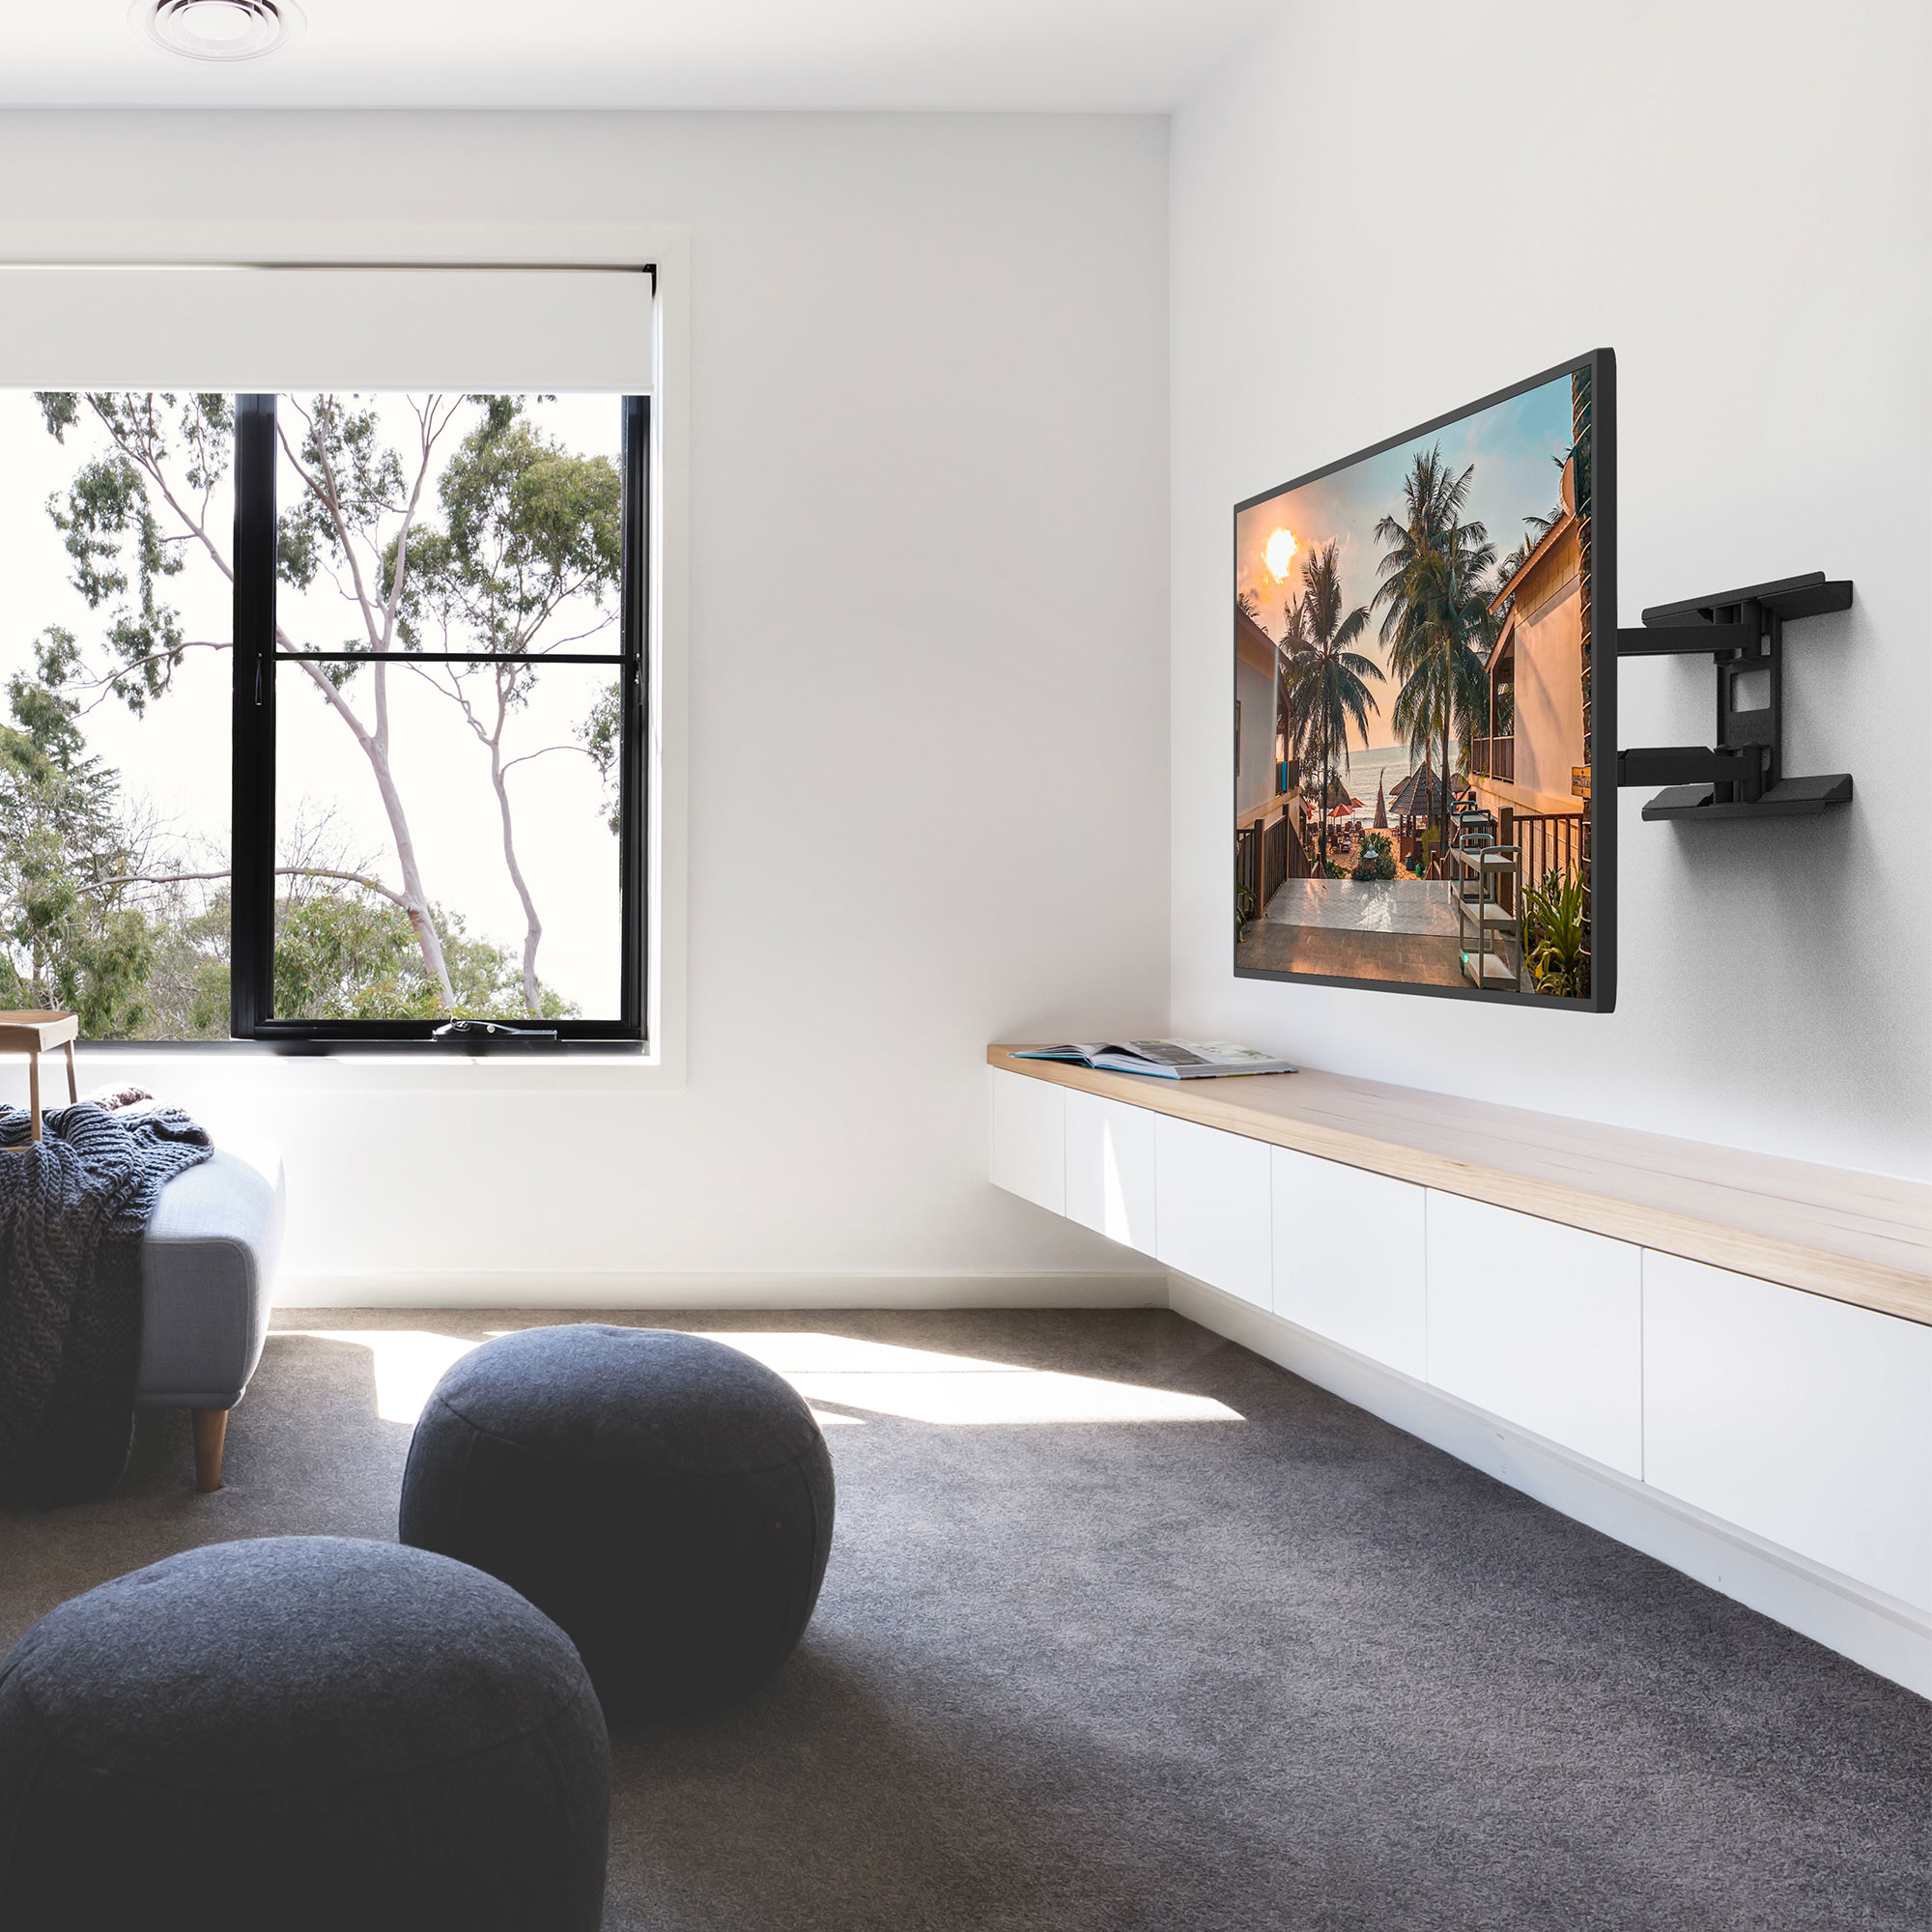

Mounting your TV in a corner can be an excellent choice for homes or offices with limited wall space or angled seating arrangements.
In this blog, we’ll outline important details to consider in order to select the right TV mount for your space – either in the corner or outer corner of a wall.
We’ll also provide a breakdown of the various types of TV mounts and a step-by-step guide on how to mount your TV in a corner. That way you’ll have everything you need to make the right decision for your space!
What to Consider before Selecting a Corner TV Mount
There are a few important technical details to make note of before selecting & mounting your TV in a corner.
WEIGHT AND SIZE
Your TV must weigh less than the mount’s weight capacity. To find out how much your TV weighs, check the box, manual, manufacturer’s website or Google the model number on the back of your TV.
You’ll also want to make sure your TV is larger than the minimum size specified to cover the TV mount’s wall plate and arms.
VESA
Along with your TV’s weight and size, there’s one specification you’ll want to familiarize yourself with to avoid any compatibility issues. The VESA size (or pattern) will indicate the position of the four mounting holes on the back of your TV.
Once you’ve figured out your TV’s VESA size, you can use it to find a compatible mount for your TV. Since most mounts accommodate multiple VESA sizes, finding one that fits your needs shouldn’t be difficult.
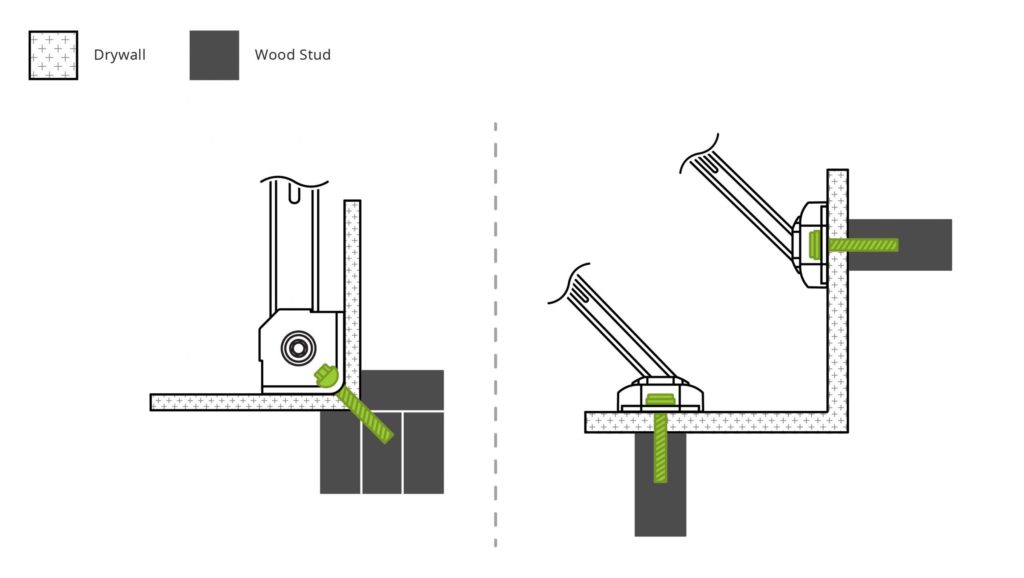
WALL STUDS
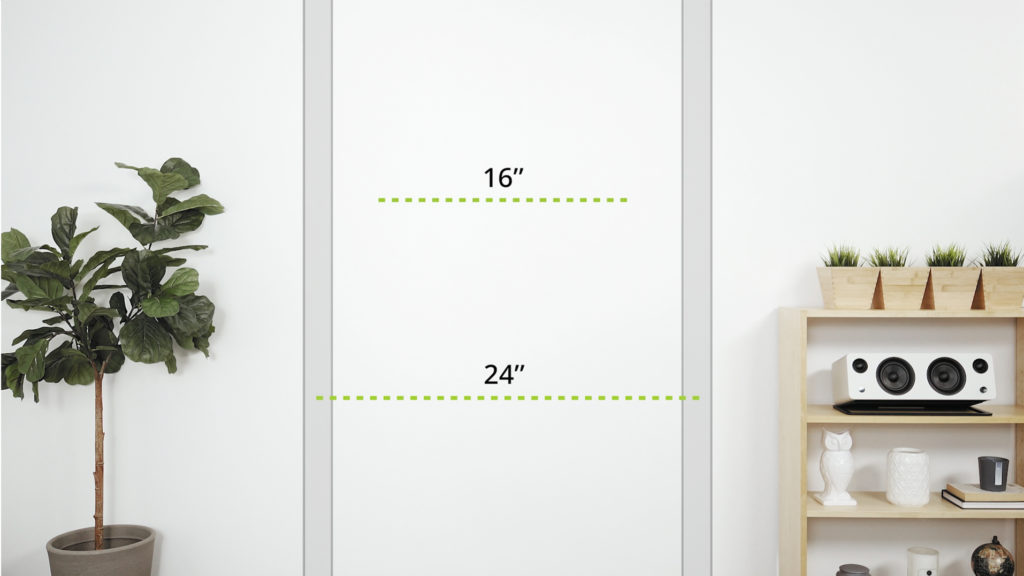
Locating your wall studs is a very important part of determining which mount you can purchase. Depending on where your studs are located – either directly in a corner or on the adjacent walls – you’ll be able to select a TV mount where its’ installation requirements compliment the location of your studs and achieve the same corner appearance. We highly recommend investing in a stud finder as it will be the most reliable and accurate way to figure out where your studs are behind the wall. Alternatively, if you have access to your building’s blueprint, it will show you where to find the studs too.
Most homes feature 16″ stud spacing, but some studs can be 24″ apart. Some mounts are limited to 16″ while other mounts feature a wider wall plate to accommodate both 16″ and 24″ stud spacing. If your studs aren’t nicely centered where you want the TV to be located, you can choose a mount with a large enough wall plate to offset the stud placement.
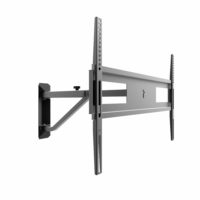
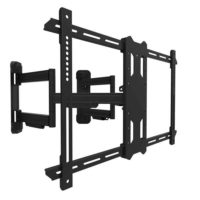
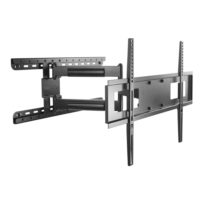
Select a Corner TV Mount
Below you’ll find a breakdown of the different types of Kanto TV mounts suitable for corner and outer corner installations.
Specifications
- Supported TV Sizes: 40″ – 60″
- Supported VESA Sizes: 100×100-600×400
- Maximum Weight: 88 lb (40 kg)
- Extension: 20.4″ – 29.8″ (51.7 cm – 75.7 cm) from the corner
- Swivel: 45° left or right
- Tilt: +10°/-6°
Highlights
- Wall plate allows the TV to swivel 45° left or right.
- Can be mounted directly in the corner of any wood stud or concrete wall.
Specifications
- Supported TV Sizes: 37″ – 70″
- Supported VESA Sizes: 100×100-600×400
- Maximum Weight: 125 lb (57 kg)
- Extension: Up to 21.2″ (53.8 cm) depending on stud location
- Swivel: Up to 40° left or right depending on screen size and stud location
- Tilt: +15°/-3
Highlights
- Features two independent wall plates.
- Versatile for inner and outer corner installations.
Specifications
- Supported TV Sizes: 30″ – 60″
- Supported VESA Sizes:
- 100×100-600×400
- Maximum Weight: 100 lb (45 kg)
- Extension: 3.1″ – 26″ (8 cm – 66 cm) from the wall
- Swivel: Up to 90° left or right depending on screen size
- Tilt: +15°/-3°
Highlights
- Adjustable pivot point lets you center your TV perfectly.
- 26″ extension to reach around corners.

Specifications
- Supported TV Sizes: 26″ – 60″
- Supported VESA Sizes: 100×100-400×400
- Maximum Weight: 88 lb (40 kg)
- Extension: 1.9″ – 22″ (4.7 cm – 56.1 cm) from the wall
- Swivel: Up to 90° left or right depending on screen size
- Tilt: +12°/-2°
Highlights
- Only requires a single stud for installation.
- Available in white.

Specifications
- Supported TV Sizes: 37″ – 70″
- Supported VESA Sizes: 100×100-400×400
- Maximum Weight: 88 lb (40 kg)
- Extension: 1.9″ – 27.6″ (4.7 cm – 70 cm) from the wall
- Swivel: Up to 90° left or right depending on screen size
- Tilt: +12°/-2°
Highlights
- Similar to PS300 but offers unparalleled extension to reach around corners.
- Only requires a single stud for installation.
How to Mount Your TV in a Corner
Now that you’ve decided on the perfect TV mount, here’s a simple step-by-step installation guide on how to mount your TV in a corner.
STEP 1: ATTACH THE MOUNT TO THE TV
You’re ready to start the mounting process! First, always read through the instructions that come with your mount. As a general rule of thumb, laying your TV face-down on a soft surface will protect your screen while you attach the mount’s bracket to the holes (VESA pattern) on the back of your TV.
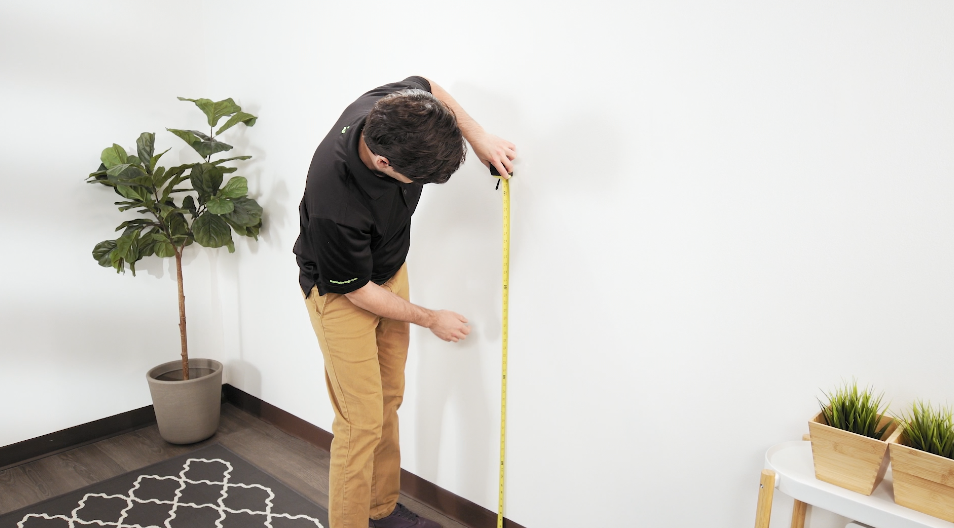
STEP 2: MARK THE DESIRED HEIGHT
Next, it’s time to measure the desired height of your TV mount. Take a step back and see where you’ll be viewing your TV from. It’s easier to adjust the height before you start drilling holes! Use a tape measure and pencil to mark where on the wall you want the mounting plate to attach to the studs.
STEP 3: MARK YOUR STUDS
Using either your trusty stud finder or building blueprints, make a pencil mark on the wall over each stud. This is one of the most important steps, so don’t assume you can estimate their location.
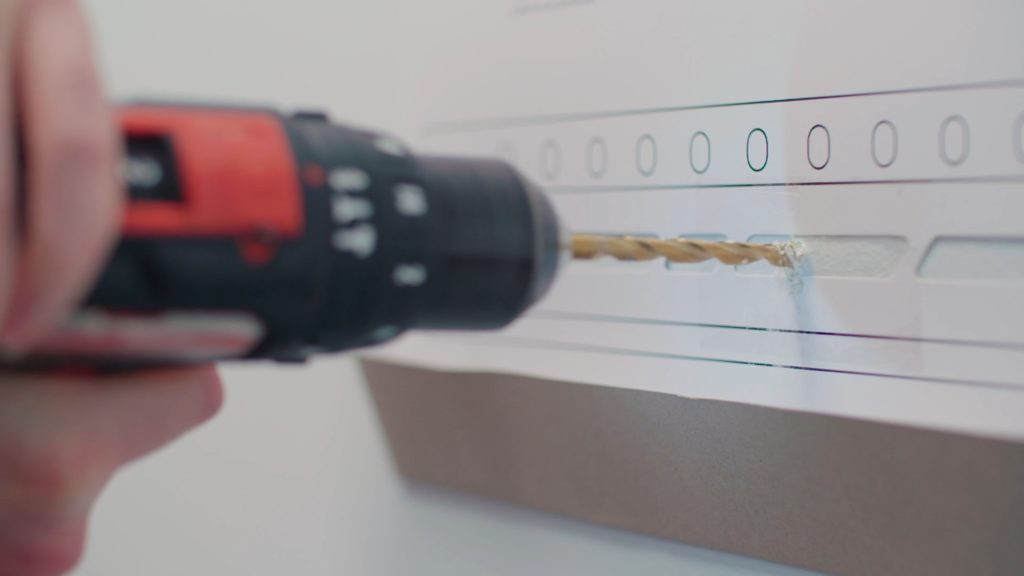
STEP 4: DRILL HOLES & ATTACH THE MOUNT
Using a power drill and wall level, carefully create holes in the marked studs. Next, use the lag bolts to secure and attach the bracket directly to the wall. Use the wall level again to ensure that it is hanging evenly.
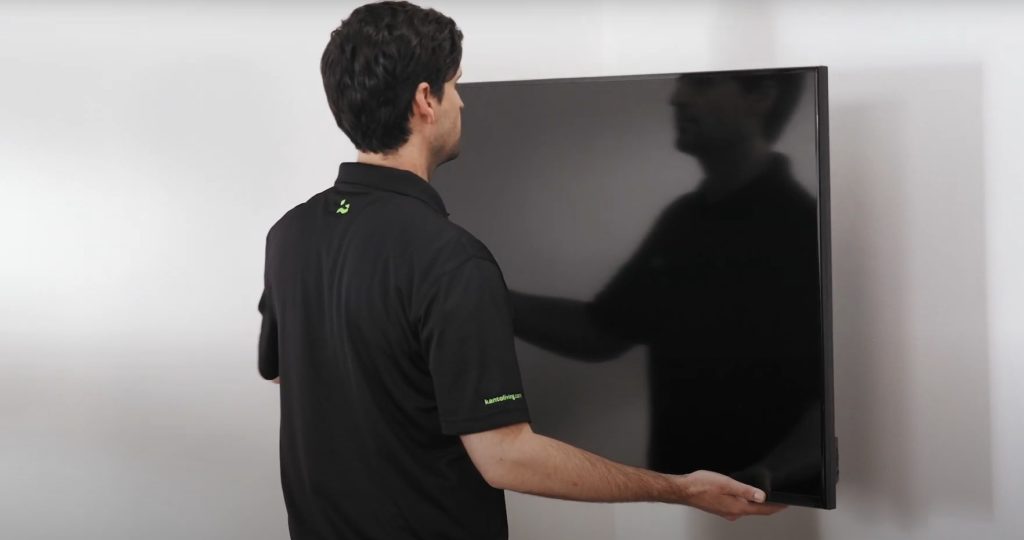
STEP 5: ATTACH & SECURE TV TO THE MOUNT
To do this, attach the TV bracket to the mount on the wall. Finally, check to make sure it’s securely attached and sturdy.
STEP 6: ADJUST AS NEEDED & ENJOY!
At last, your new corner-mounted TV is ready for comfortable viewing! If any adjustments are necessary, you can easily pan, swivel, and/or tilt the angle of your TV to get the best view.