
Most TV mounts in the market are designed to be installed in either wooden studs or concrete, but it’s also possible to mount a TV into metal studs. The process is virtually the same, but you will need a few additional tools and equipment. In this article, we’ll walk you through the step-by-step instructions to install a TV mount into metal studs and show you how easy the process can be.
How to Find Metal Studs in Your Wall
You can find your metal studs with a stud finder. Most apartment buildings and office spaces have metal studded walls for fire safety. Steel studs are not flammable and they help to slow the spread of fire. They are also resistant to damage from termites, insects, rot, and mold – which makes them popular in a lot of modern buildings.
For the most part, installing a mount into metal studs requires the exact same tools as you would need to install into a wooden stud installation.
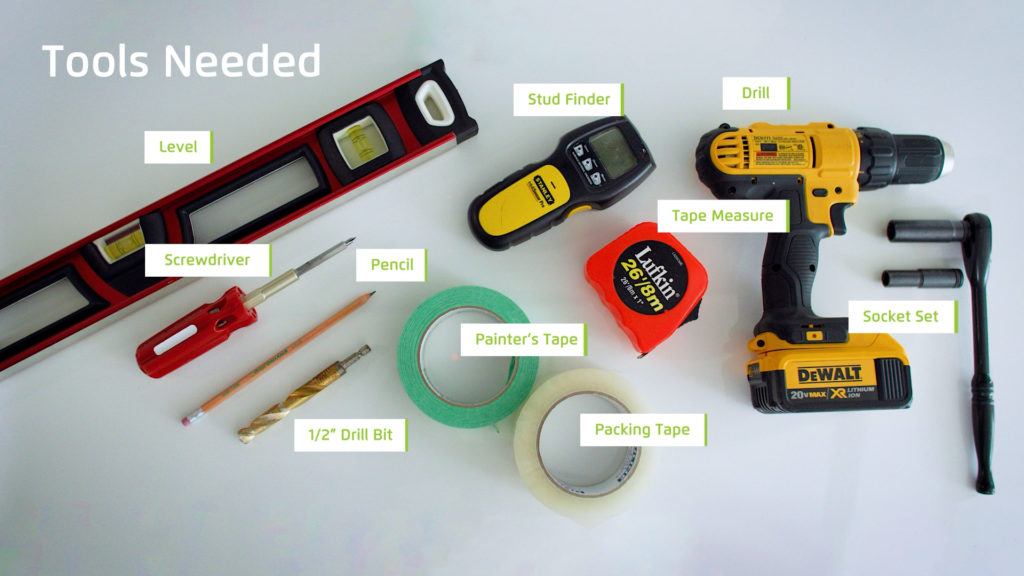
Tools For Mounting a TV Into Metal Studs:
- Drill
- ½” drill bit
- Tape measure
- Stud finder
- Level
- Pencil
- Socket set
- Level
- Screwdriver
- Packing tape
- Painter’s tape
Before you purchase the mount, be sure you know what material your studs are made of and that you have permission to drill into your walls if you are renting your space. If you’re unsure, about the building material, get in touch with a professional for help.
Mounting a TV into Metal Studs VS Wood Studs
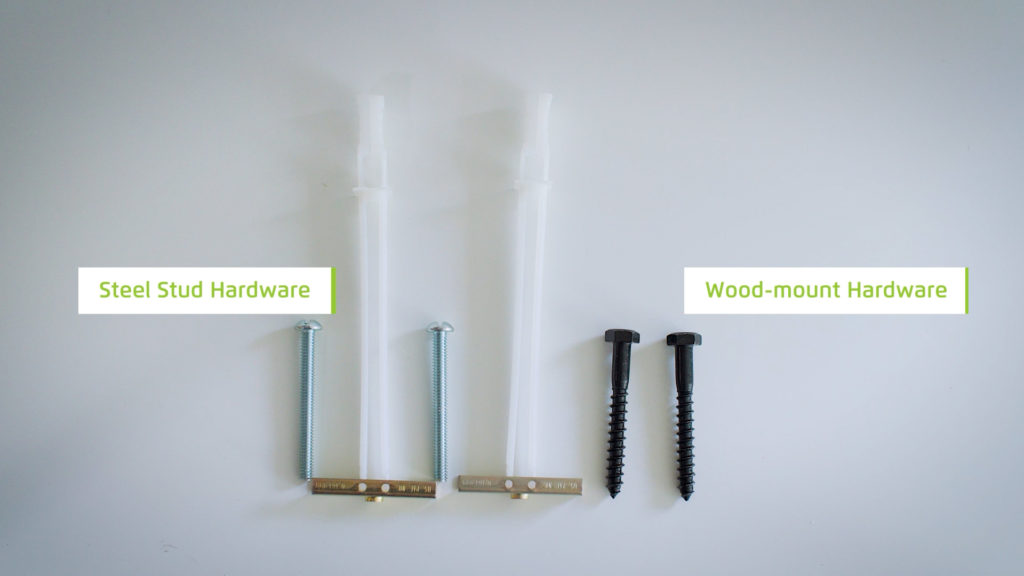
A TV mount that is designed for metal studs is almost identical to the one designed for a wooden stud installation. The difference lies between the hardware that is used to attach the bracket to the wall for proper support. Wooden stud installations use lag bolts that screw directly into the stud while metal stud installations require hardware such as toggle bolts, drill toggle, or snap toggles to secure into the metal stud.
In this example we’ll be installing the Kanto LX600SW TV Mount. It comes with four toggle bolts to ensure a safe and secure installation. Toggle bolts, also known as toggle anchors, offer extra support to hold heavy items which a wall, on its own, wouldn’t be able to provide.
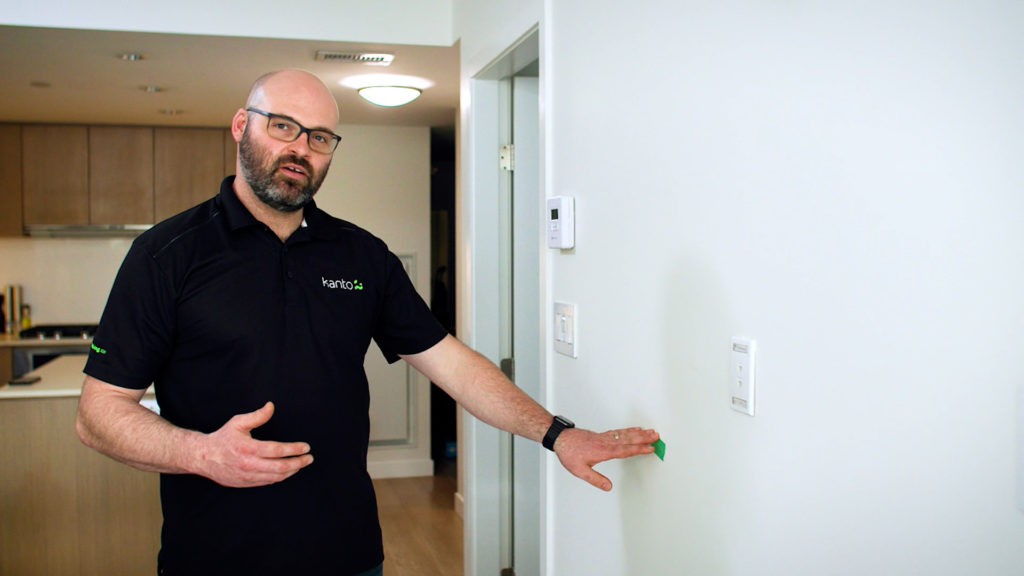
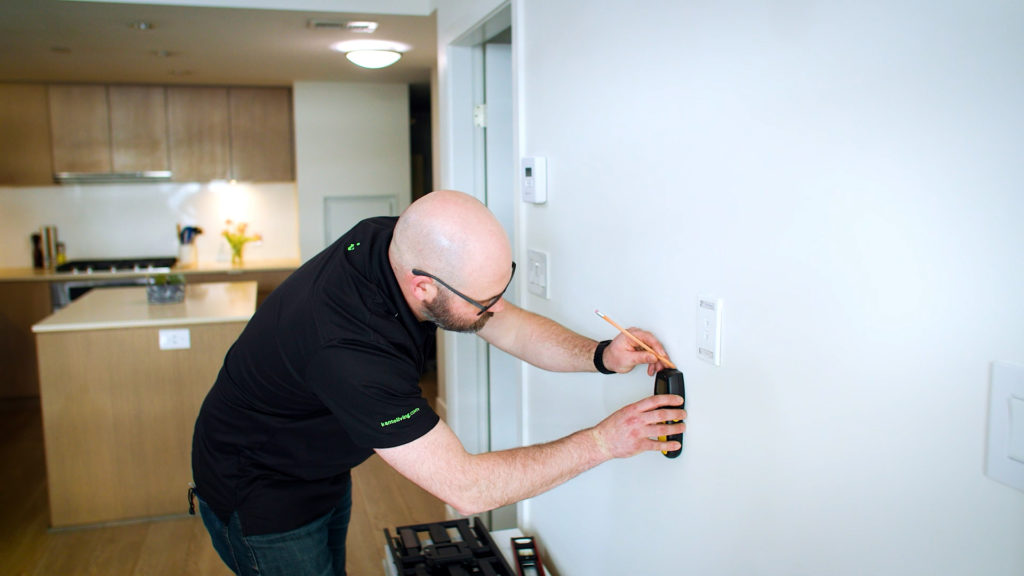
Step 1: Determining The Height for Your TV
The first step in the installation process is to figure out how high you want your TV to be. We recommend centering the TV at your eye level to ensure a comfortable viewing experience and avoid neck and eye strain.
After you’re found the height for the TV, mark the center spot with a piece of painter’s tape.
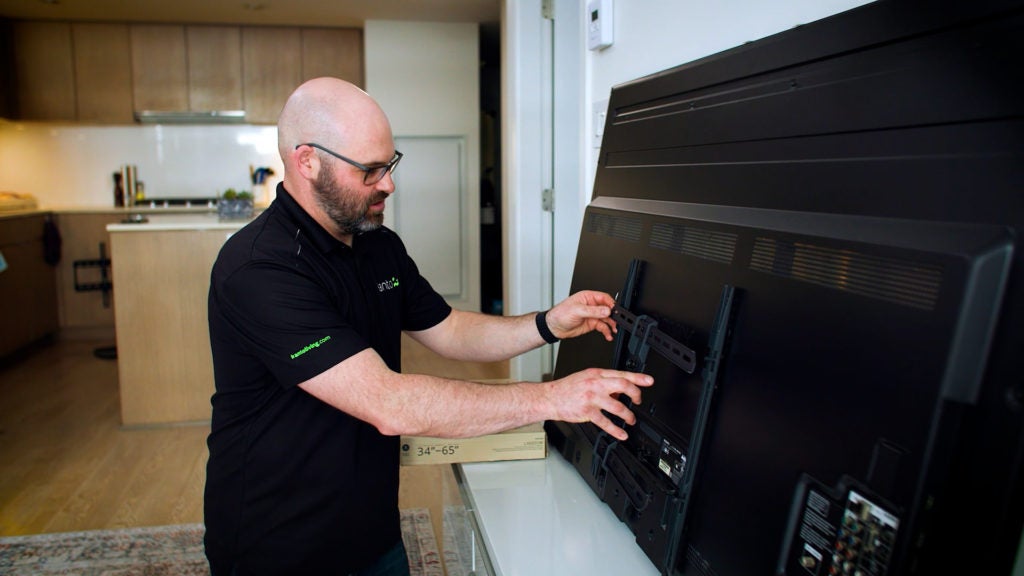
Step 2: Installing the Hardware to the TV
The next step is to install the frame on the TV. Start by installing the vertical arms to the TV. We used a spacer here because there’s a ridge on the TV and a spacer brings the arm slightly out.
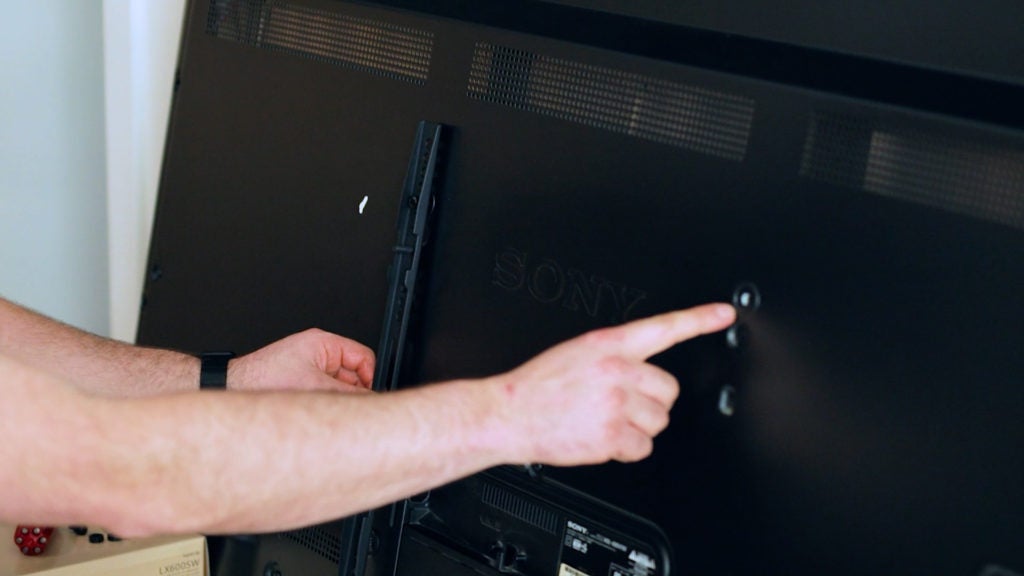
Once you’ve installed the vertical arms, you can go ahead and install the horizontal bracket.
Step 3: Locating The Metal Studs in Your Wall
Use the stud finder to locate the metal studs and use a pencil to mark the areas. In most cases, metal studs are about 16 inches apart, so that should give you a good idea of where to start.
Step 4: Installing The Bracket
Next, we’ll be using the level to ensure that the marks are level. Once you’re sure that the marks are level, stick the template on the wall using painter’s tape.
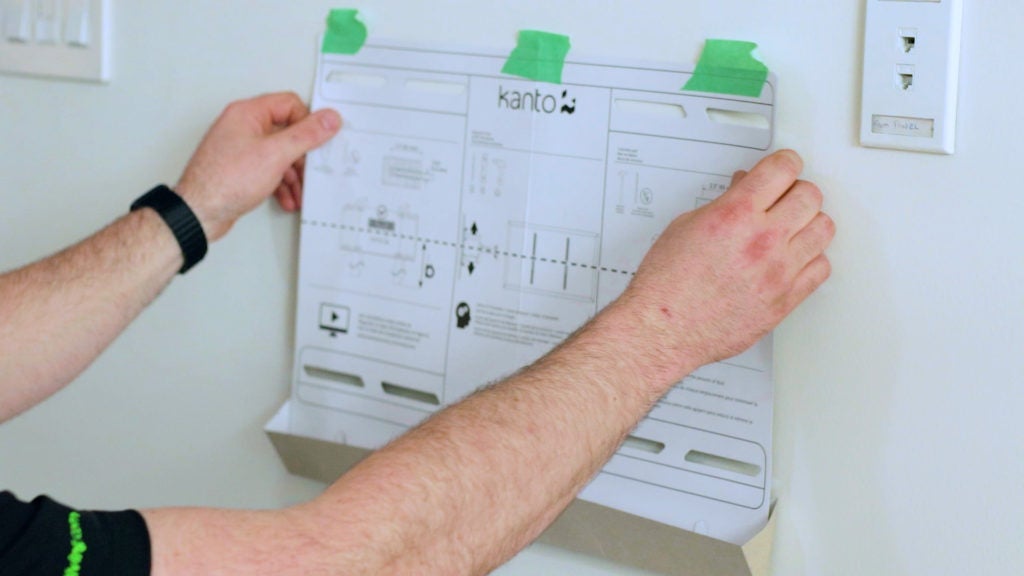
Use a level and mark the lower set of drilling holes for the toggle bolts/anchors.

If you have packing tape lying around the house, use it to cover the mark where you’re going to drill to keep the wall template stuck firmly to the wall.
The template comes with an attached dust catcher. Before you start drilling, make sure that it is extended to allow all the dust particles from the drywall to collect in it. This will make cleanup a lot easier. Once you’ve drilled your holes, simply fold up the wall template and discard.
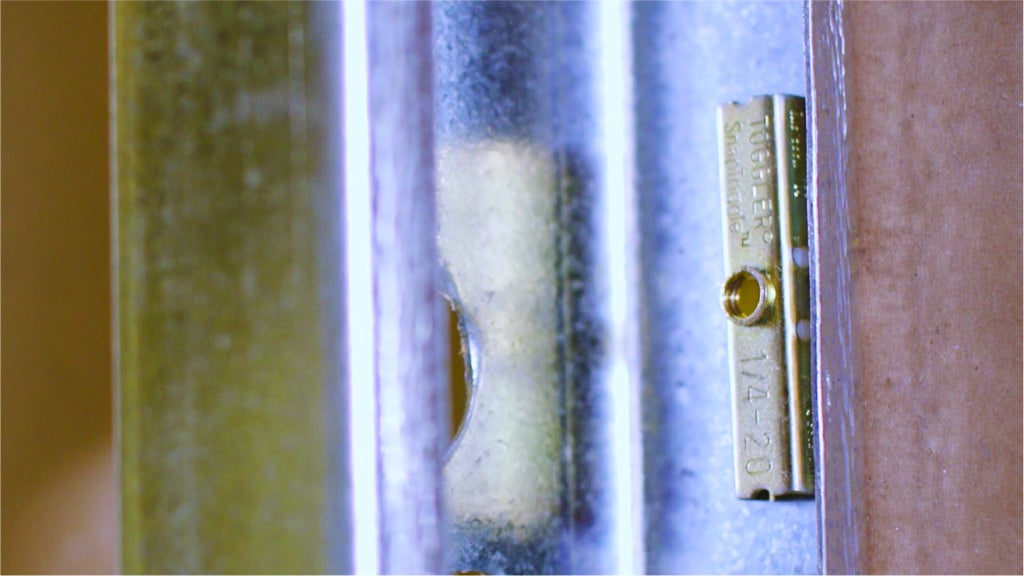
Step 5: Installing The Toggler Bolts
The Kanto LX600SW TV Mount comes with 4 toggler bolts that are very easy to secure. You can turn the bolt so that it can be extended and inserted through the hole and then once it’s through, it can be turned so that it catches against the back of the stud.
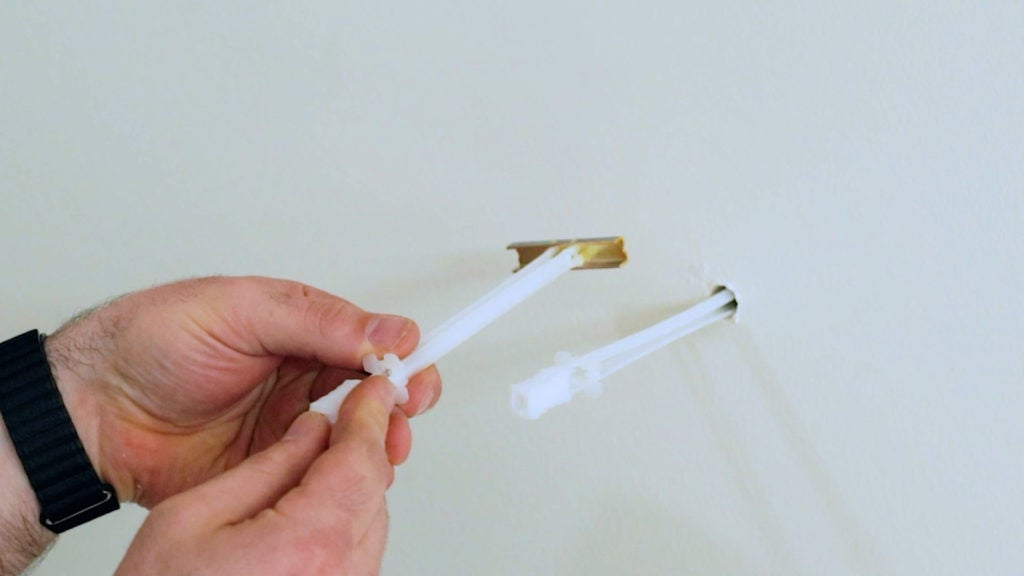
First extend your toggler bolt through the hole.
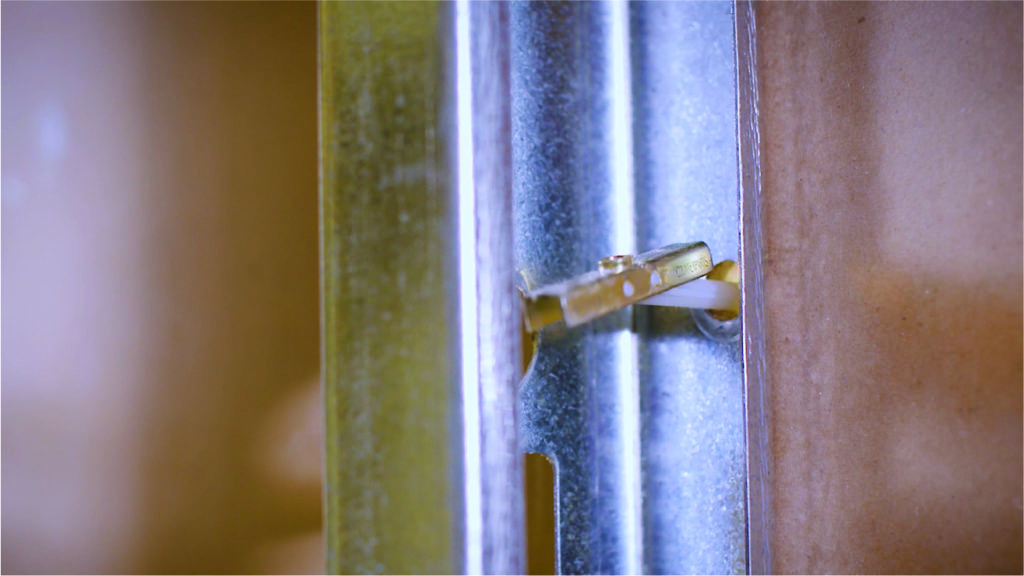
Once you’ve threaded it through, turn the bolt so it catches, and pull it tight towards you until it is secure.
Next, push the cap of the securing bracket into the hole to secure the toggler bolt.
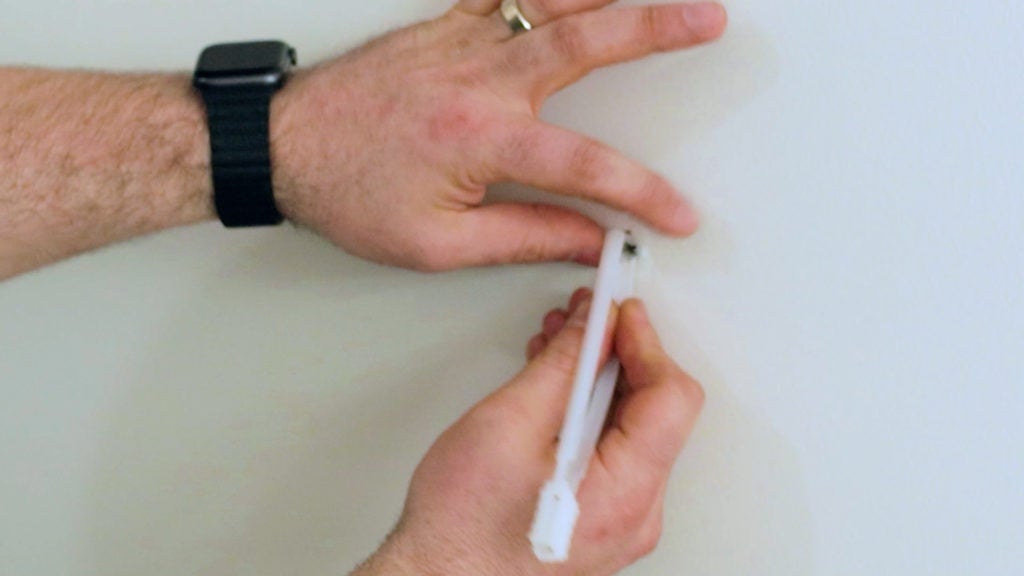
Finally, once your anchor is secure, wiggle the clips until they break off, leaving your anchor in place. Repeat the same process for the remaining toggle bolts.
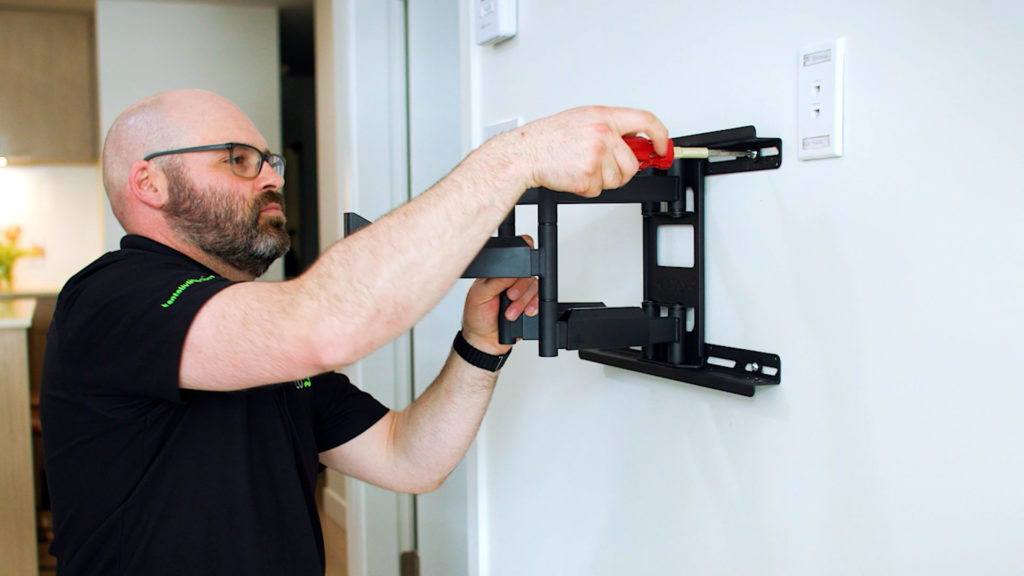
Step 6: Installing The Bracket To The Wall
Once all the toggle bolts are installed, you can install the bracket to the wall. From here on out, the process is essentially the same as mounting your TV into wooden studs. You can use a drill to fasten the process but only tighten them to about 90% to avoid stripping the bolt–from there it’s best to finish it off with a hand tool.
Step 7: Hanging the TV on your Mount
It is recommended to have a friend to help you in this step since TVs can be heavy and it may potentially put your TV (and you) at risk if you try to hang it all by yourself.
Once it is hung up on the wall bracket, secure it in its place. Tighten the nuts about 90% in the way so that you can make the final adjustments and check if the TV is level before you finish tightening them.
Final Adjustments
After hanging the TV, you can run your cables through the handy cable management clips for a clean and organized look.
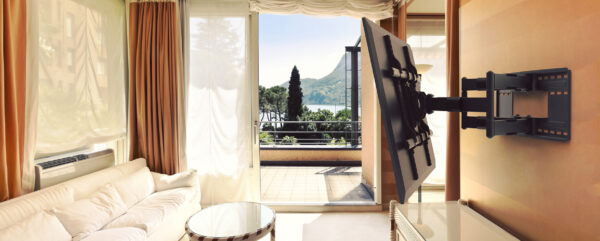
In the end, you can make fine adjustments and pan, swivel, or tilt your TV into the perfect position and angle.
Installing a TV Mount into Metal Studs Made Easier
Installing a TV mount into metal studs has never been easier. By providing you with the right tools and guidance, our goal is to empower you with the ability to install a TV into any wall any way you like.
For more information about Kanto mounts, feel free to explore our blog and YouTube channel for more information and video tutorials.
LX600SW
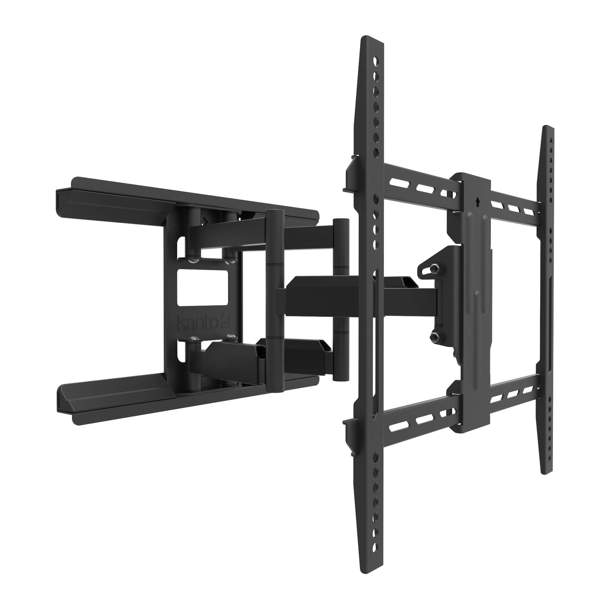
Specifications
- Supported TV Sizes: 37″ – 65″
- Supported VESA Sizes: 100×100-400×400
- Maximum Weight: 100 lb (45 kg)
- Extension: 2.2″ – 17″ (5.5 – 43.1 cm) from the wall
- Swivel: 45° left or right
- Tilt: +15°/-3°
- UL Certified
- 4 SNAPTOGGLE® Heavy-Duty Toggle Bolts Included