
TVs are getting larger and larger and with kids and pets running around, mounting a TV is a great way to keep your space safe. If you’ve never mounted a TV before, you might be surprised at how simple the process can actually be when you have the right tools and guidance. Continue reading this guide on how to safely mount a TV.
In This Article We’ll Walk You Through
- Considerations before purchase
- How to choose the right TV mount
- Tools needed to install your TV mount
- TV Mounting process
Things to Consider Before You Buy a TV Mount
There are many different types of TV mounts to choose from, each with its own unique features and benefits. In order to find the best TV mount for your space, consider the following:
1. What do you need your TV mount to do?
If you just want to clear up some space and put your TV on the wall so that you don’t have to rely on furniture, a low profile mount will get the job done best. Low profile means the screen is close to the wall, almost like a painting.
If you need a solution for putting your TV higher up on the wall than your viewing position, you’ll be best served by a tilt mount.
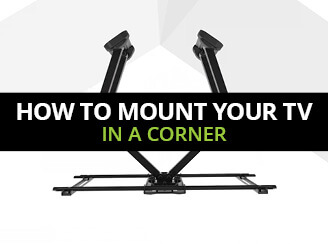
To mount your TV in a corner, use a corner mount.
2. Will your mount need to accommodate multiple viewing angles?
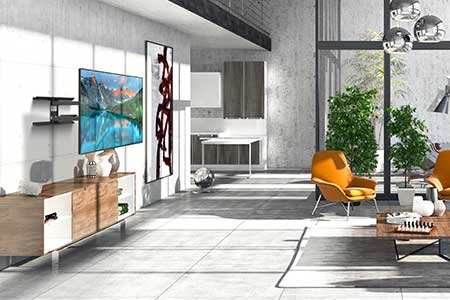
In a room where the screen is visible from all angles, a stationary mount will suffice. But if the best solution for multiple viewing angles would be a full motion mount. You can also get a recessed mount which offers both full motion flexibility as well as the ultimate low profile.
3. Any reflections or glare to consider?
Consider the lighting in your room–especially if there is sunlight coming through a window, you’ll want to make sure your TV mount gives you the flexibility to turn or angle your screen.
If you’re having a hard time deciding where to put your TV, a mobile mount can help you put it anywhere and everywhere you like! Try a mobile TV mount such as the Kanto MTM82PL which allows you to adjust the height of your screen as well as move it to another location entirely.
4. What material are you mounting your TV into?
Most TV mounts, including Kanto TV mounts are designed for use with wood, brick, and concrete.
It is possible to mount your TV into other materials such as steel studs, but you may require special hardware to do so. If you’re planning to mount into steel studs or unsure of the material behind your wall, be sure to consult a professional.
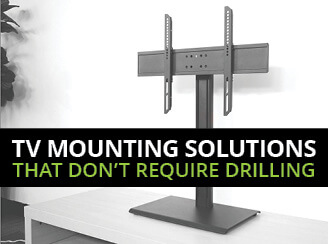
5. Is a drill free TV mount a better option for you?
If you’re not sure about drilling into your wall but still want to put up a screen, there are plenty of drill-free TV mounting options.
How To Choose the Right TV Mount For Your Wall
Once you’ve narrowed down the type of mount you want to work with, it’s time to see which one(s) are compatible with your wall and your screen.
Is the TV mount compatible with your wall?
Some mounts drill into a single stud, others work with double studs, and some mounts are specially designed to be used in a corner.
Before you purchase any TV mounts, be sure to know how far apart your studs are spaced. It’s also important to be aware of any wires or pipes near where you’re mounting your TV if you plan to install a recessed mount.
Is the TV mount compatible with your screen?
When it comes to determining the compatibility between a TV mount and your TV screen, there are two main specifications you want to consider: the weight of your screen, and the VESA pattern.
You can usually find both specifications in the manuals that come with your TV screen and or the manufacturer’s website.
Tools Needed To Mount A TV On The Wall
Kanto TV mounts come with all the hardware to mount your TV such as screws, nuts, and bolts neatly laid out for you. There are some additional tools you’ll need:
- Drill with drill bit
- Socket set
- Stud finder
- Level
- Screwdriver
- Pencil
- Painter’s tape
How To Mount A TV On The Wall: Step-By-Step
Let’s break this process down into 4 steps using the Kanto PDX650 as an example:
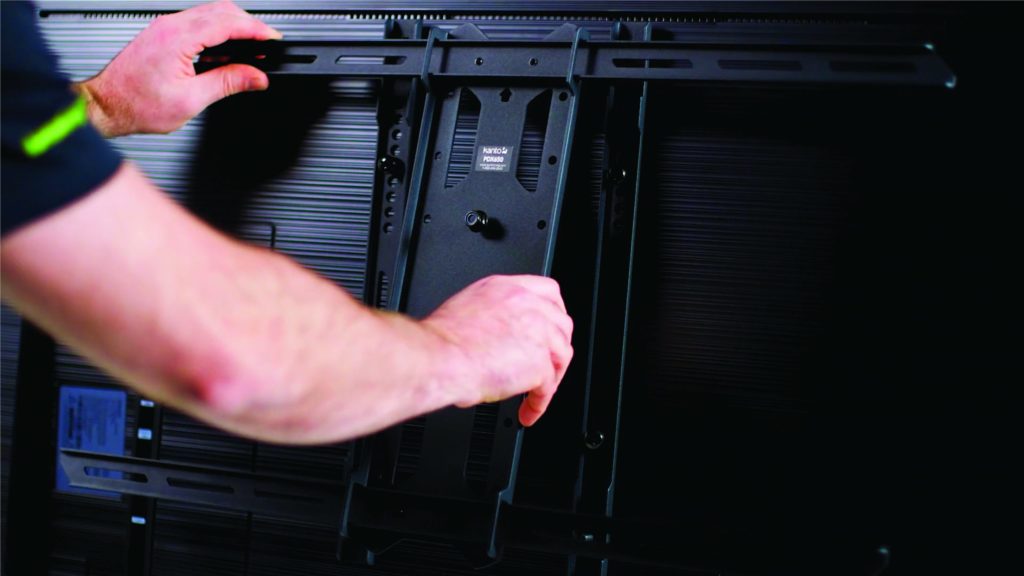
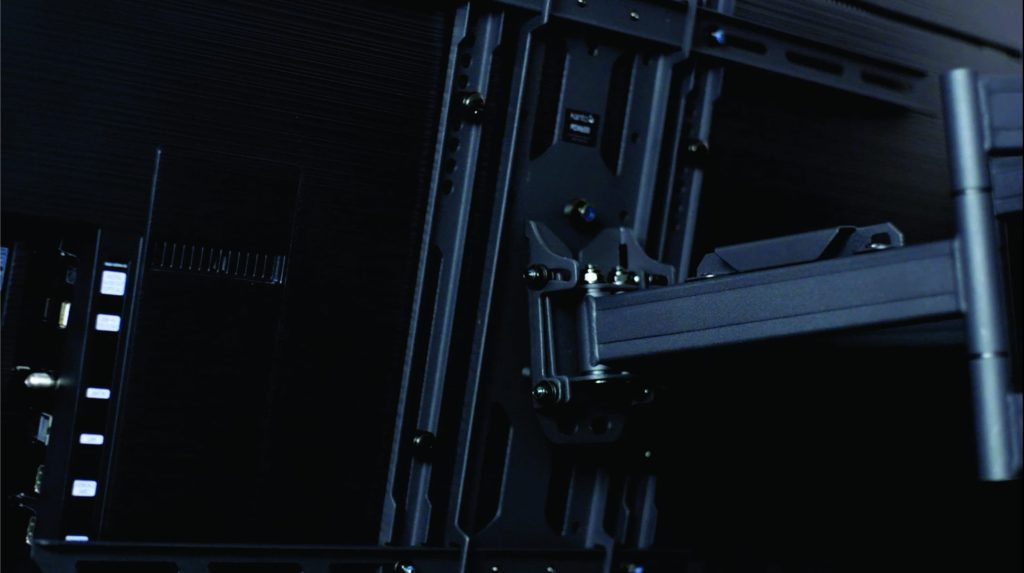
1. Attach the frame to your TV
Your PDX650 comes with an H frame that attaches to the back of your TV. First, attach the vertical arms to the back of your TV using the included screws that correspond to the VESA holes.
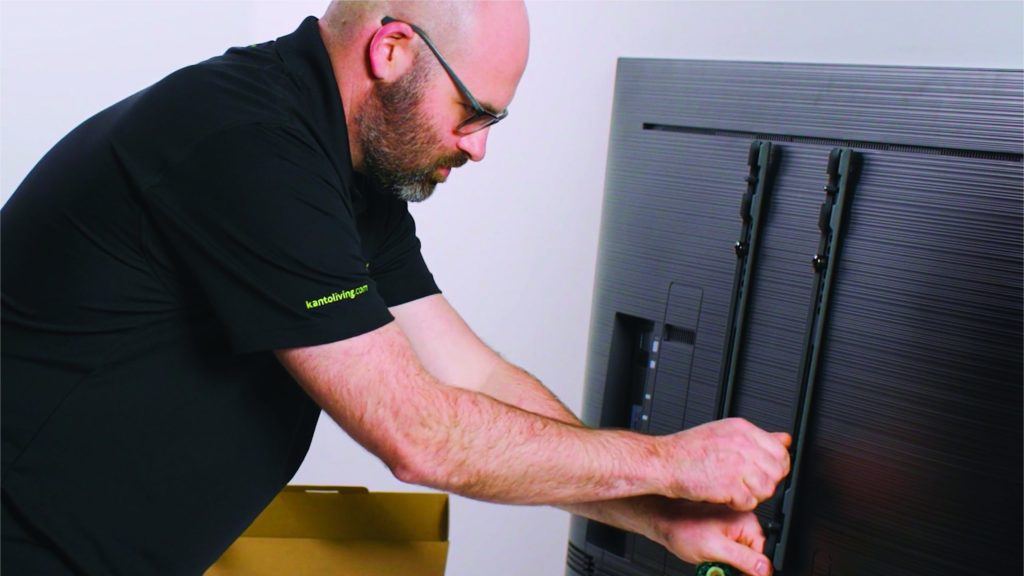
Next, attach the H Frame to the vertical arms. Use a 10mm socket wrench to secure it in place.
2. Mount the Bracket on Your Wall
First, figure out how high you want to mount your TV. In most setups, you’ll want to mount your TV at eye level, or about 42” from the ground to the center of the TV. The exact height for your setup can vary so we’ve put together a handy guide to help you identify the best height for your mounting situation.
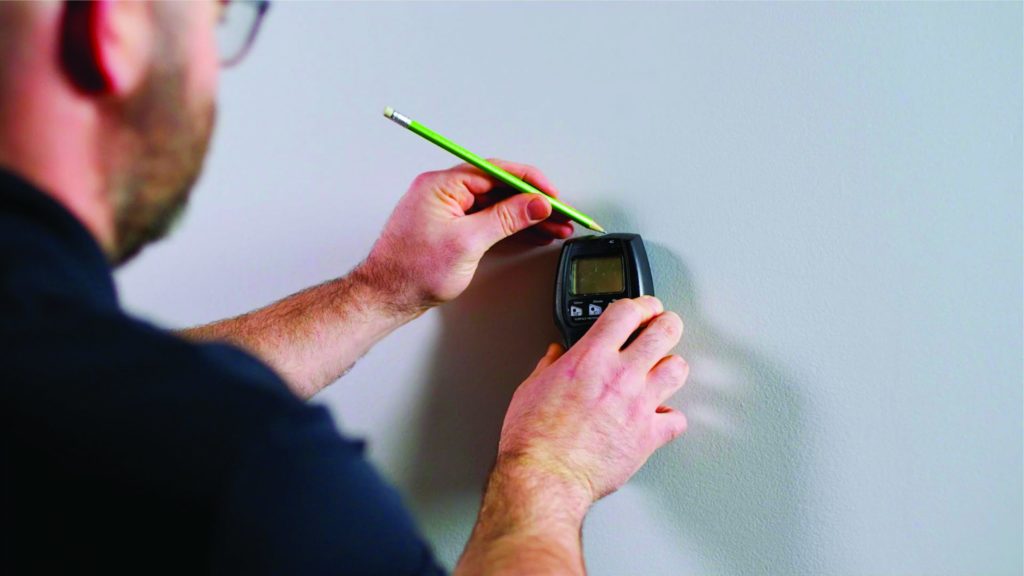
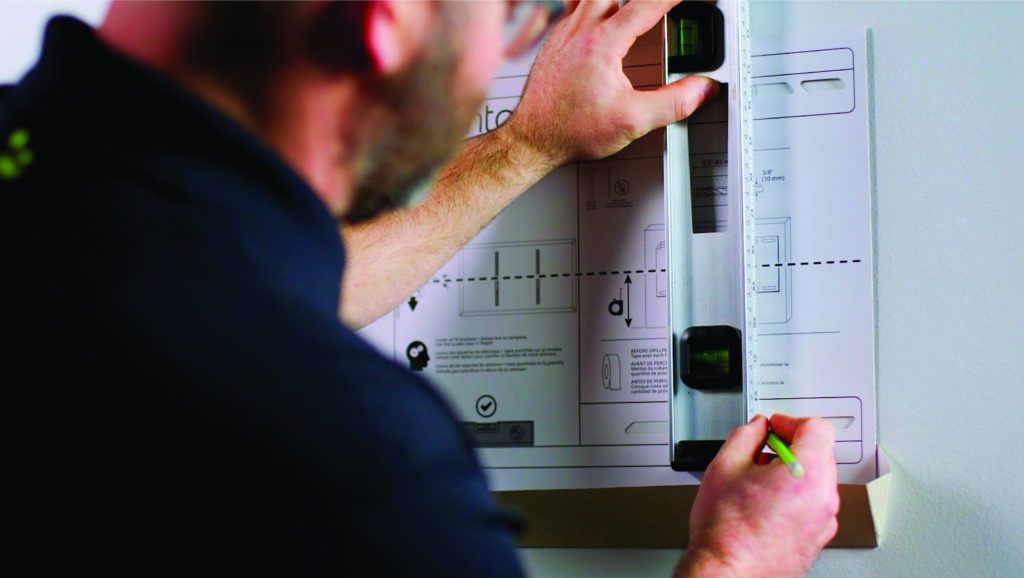
Using a stud finder, locate the two studs behind your wall, and mark their locations with vertical lines with a pencil.
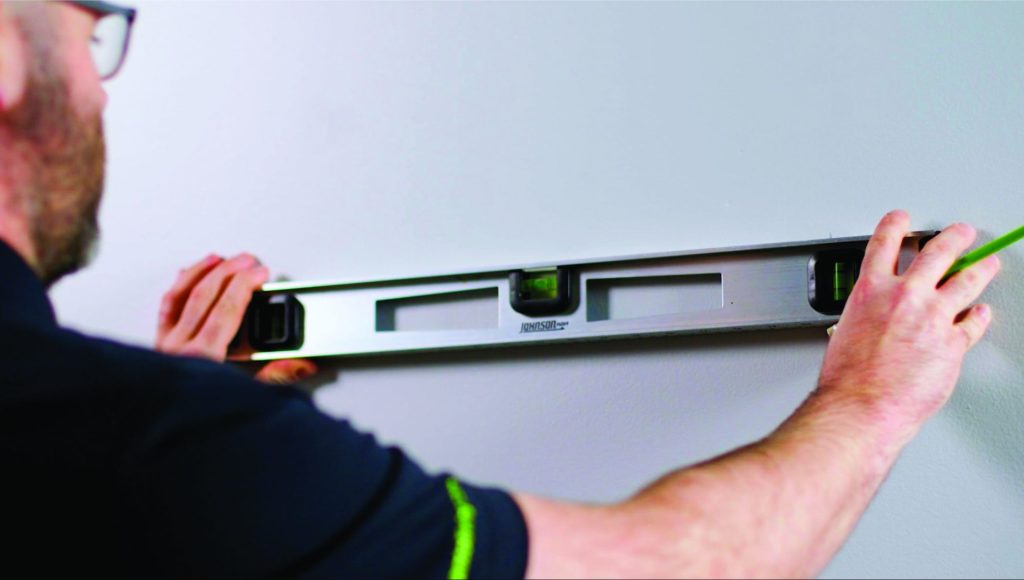
Then use a level to draw a horizontal line to connect your marks.
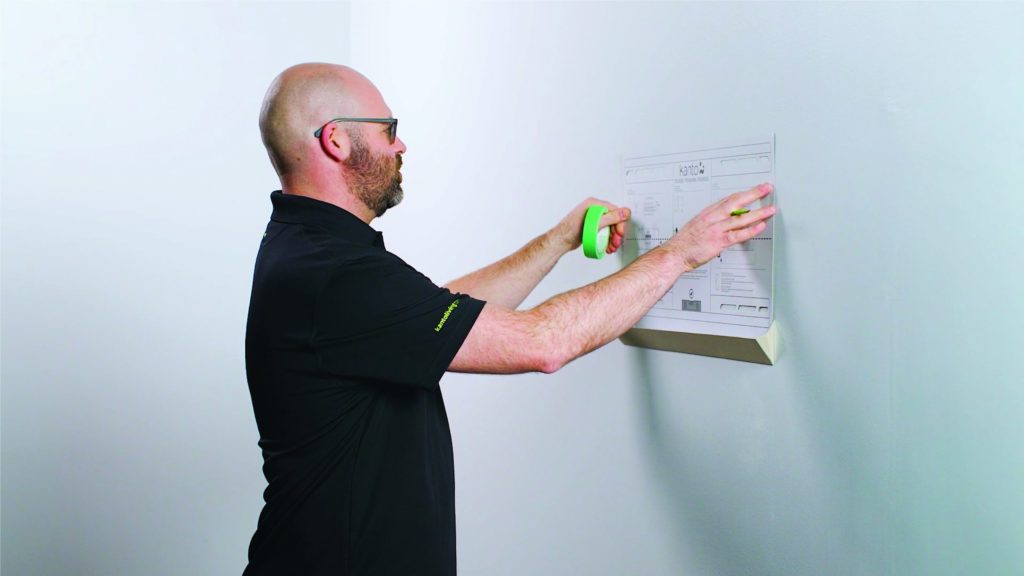
Once you’ve identified the location of your studs, you can put up the drill template to ensure accurate drilling. Using painter’s tape will help you avoid ripping paint off the wall.
Use your level to line up the first and second marks you made to mark the second set of lower drilling holes.
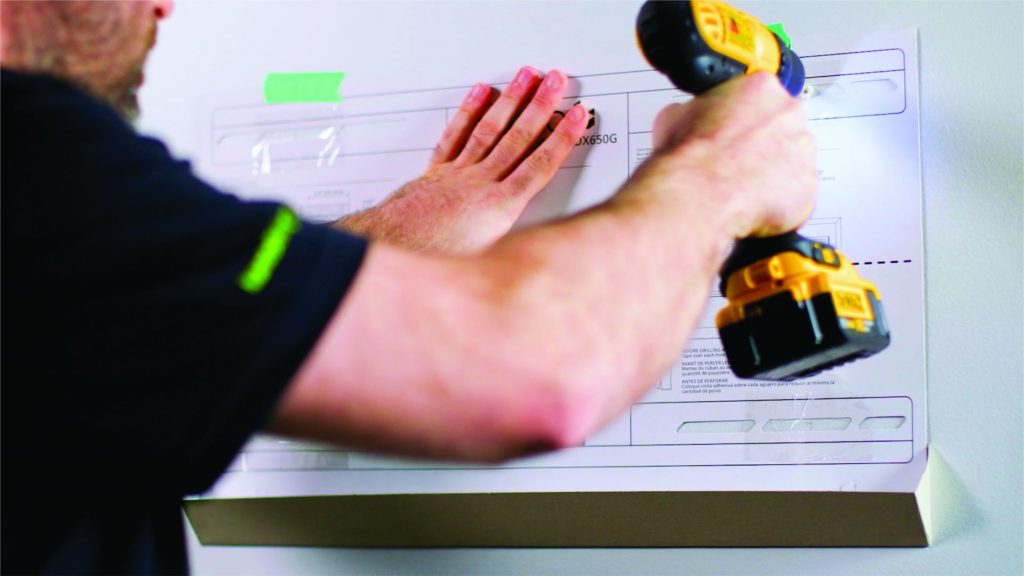
Drill your holes using the recommended size drill bit indicated in the manual of your mount.
When removing the drill template from the wall, keep it level to avoid spilling dust on the floor! The dust catcher included with your template will help.
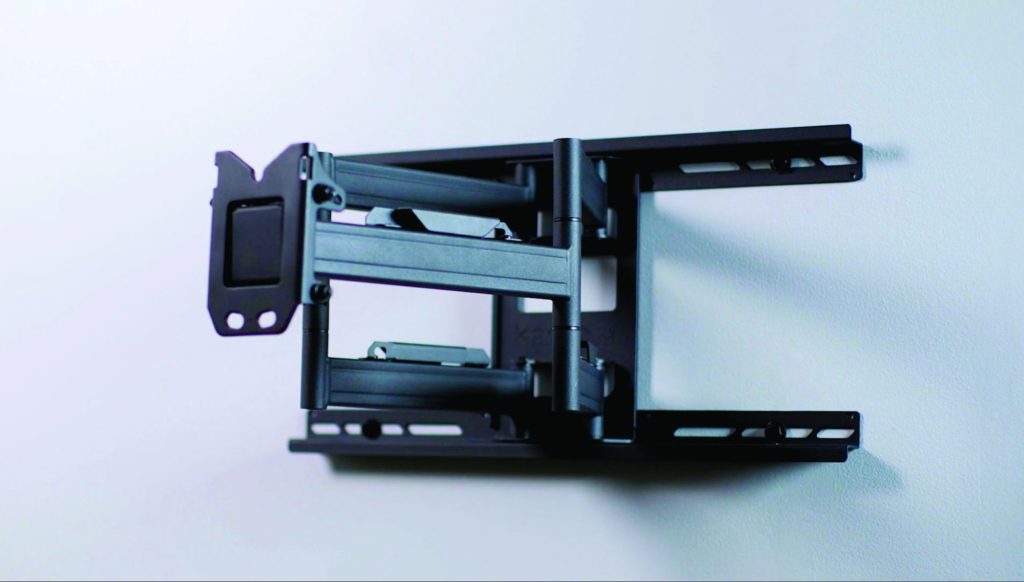
Now you can start attaching your mount, starting with the top two bolts. You can tighten them ¾ of the way to help take some of the weight off, or have another person help you hold the mount against the wall.
Once the bracket is mounted, it should already be level thanks to your template. Most Kanto mounts also have a horizontal leveling feature to help you get the setup just right.
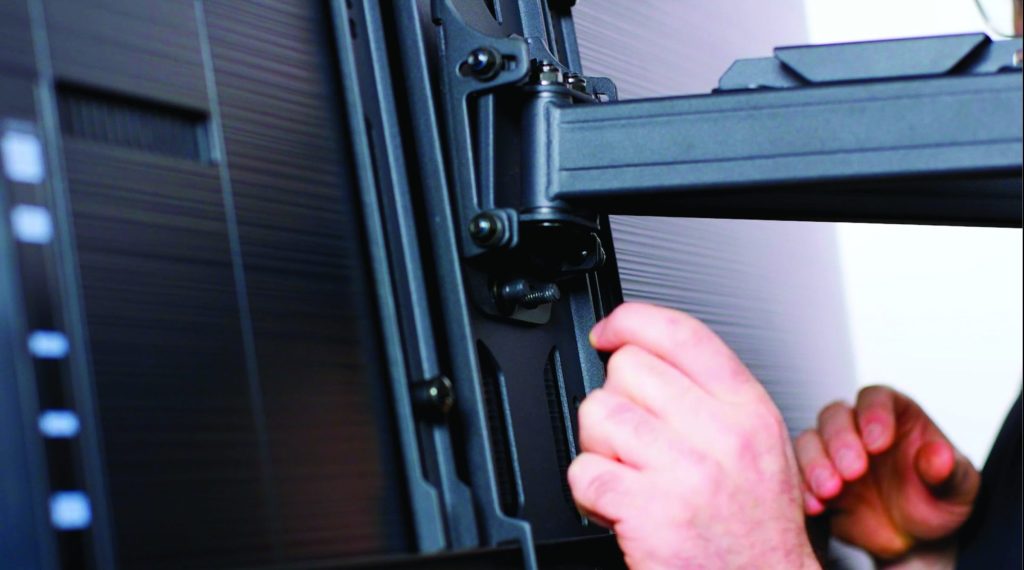
3. Hanging Your TV on the Wall
Have someone lend you a hand to hang the TV, which can be cumbersome and heavy to maneuver on your own.
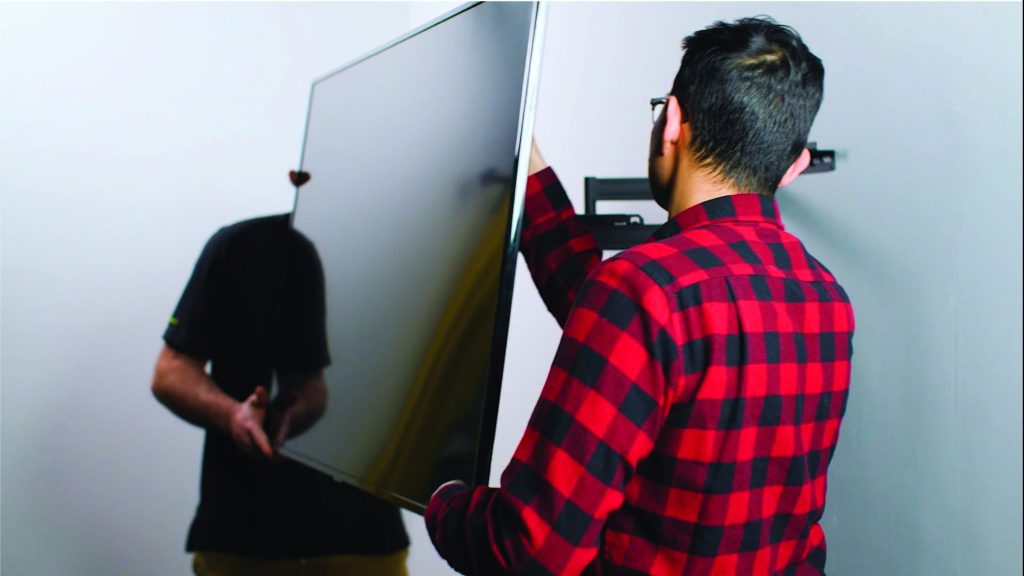
You want to align the center of the mount with the center of the H Frame.
Once the frame is hanging, be sure to secure the two lower nuts. Tighten them to about 90% and then level the TV screen. Once your TV is level, tighten the nuts all the way.
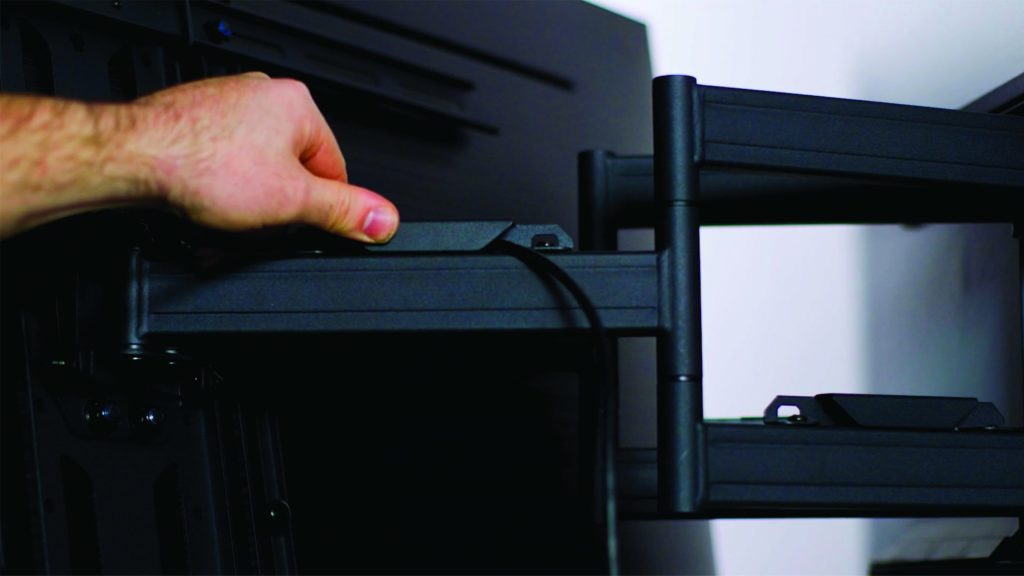
4. Final adjustments and cable management
The Kanto PDX650 has integrated cable management channels that help keep all of your cables neat and tidy.
To adjust the tilt of your TV screen, you can use a 10mm socket to loosen the mechanism and tilt your TV to your desired angle, then tighten the bolt back into place.
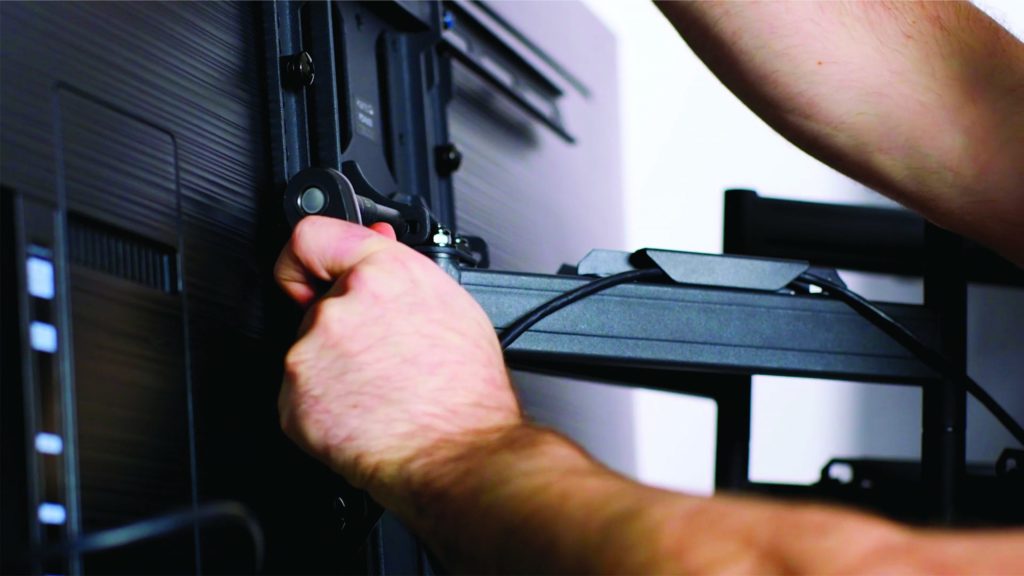
The PDX650 can extend, swivel, and pan with ease.
Give Mounting a TV on the Wall a Try!
As you can see, mounting a TV is made simpler than ever by design, and with many different options there’s bound to be a perfect TV mount for your setup.
Think in terms of how you want your setup to look, what capabilities you want your TV mount to have, and once you’ve found the right mount, you can expect it to come with a simple and straightforward installation process.
Manuals are included with all of our TV mounts and available online along with video tutorials and installation videos.
If you have more specific questions about TV mounting options and solutions, feel free to get in touch. Our team would be happy to recommend a Kanto mounting solution that would be perfect for your setup.